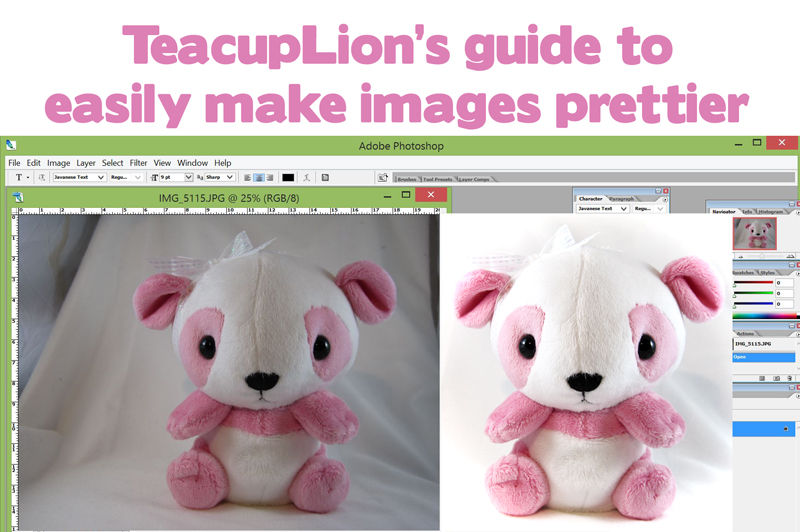
Here’s a simple tutorial on how to use Photoshop CS2 to make your plushie pictures look much, much nicer :)
Adobe offers a free download available here – and here’s a Gizmodo article on it
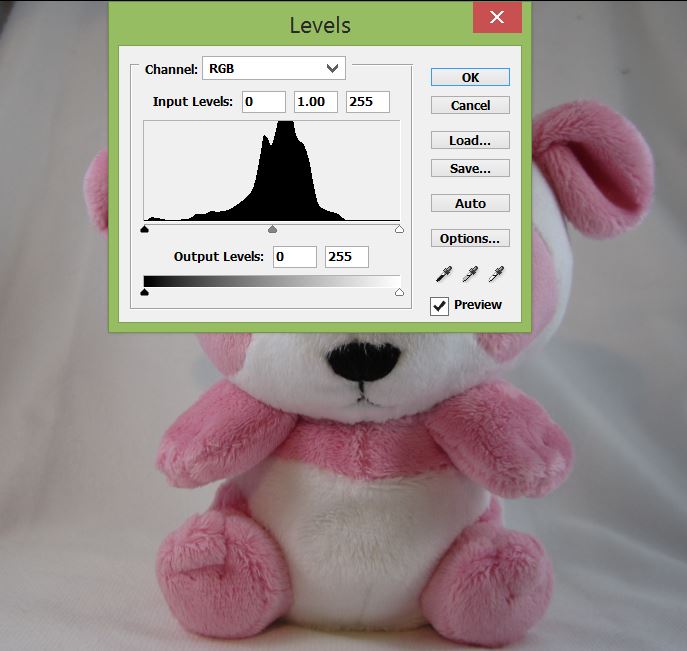
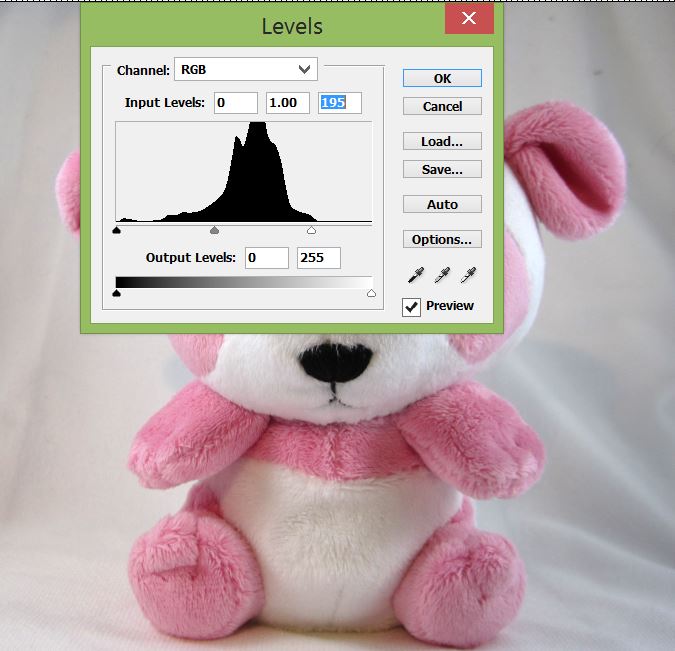
Adjusting Levels
To make your picture’s white spots whiter and light spots lighter (in equal levels).
Image > Adjustments > Levels
Move the tiny slider on the far right (looks like it’s to the right of the mountain graph), and drag it over to the beginning part of the mountain. This will adjust the white to where it should be. The middle slider will adjust automatically.
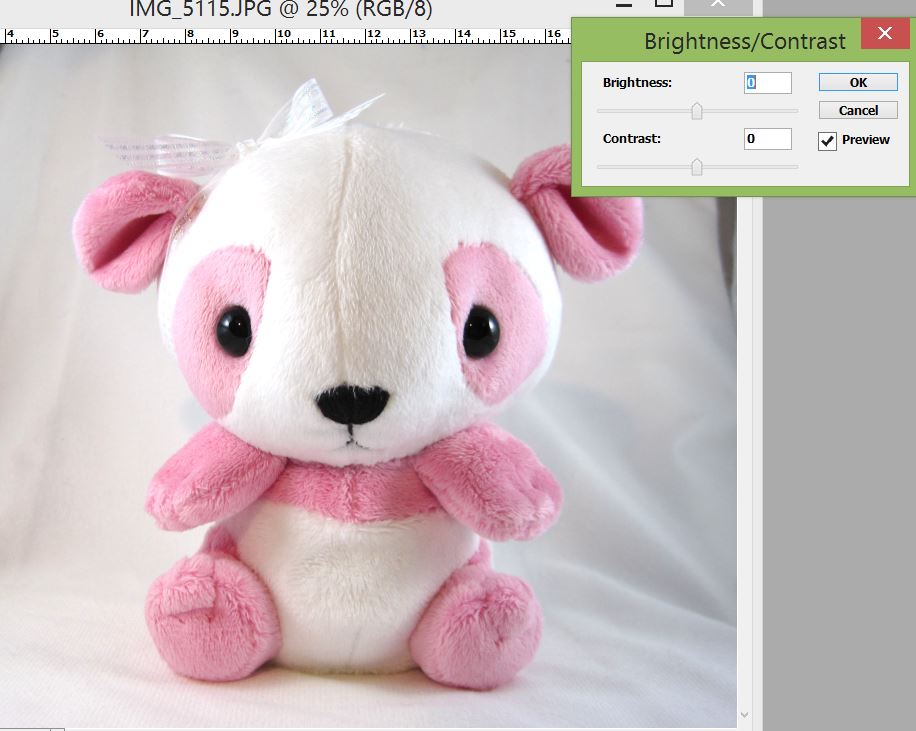
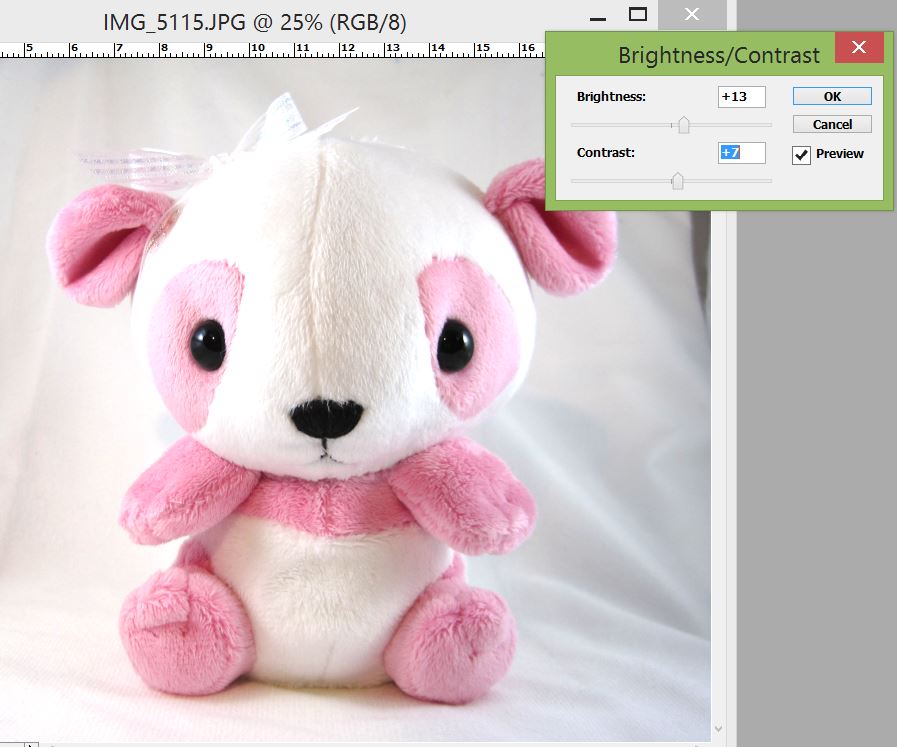
Adjusting brightness/contrast
Use this if your image is overall too dark or if you want to have more distinction between lights and darks.
Image > Adjustments > Brighness/Contrast
Move the sliders to the right to increase brightness or contrast.
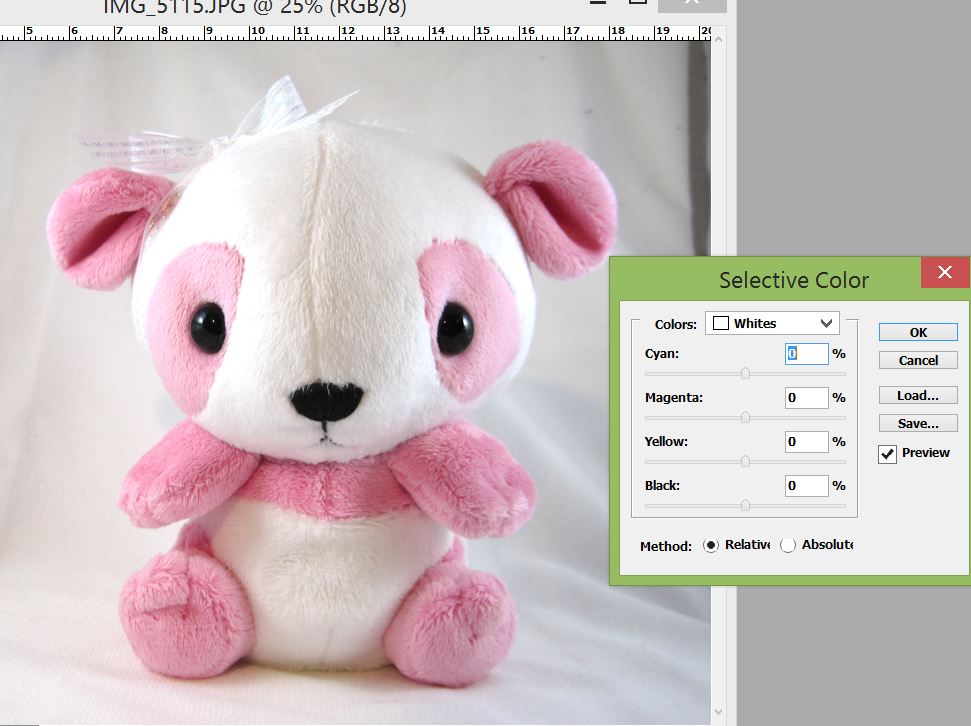
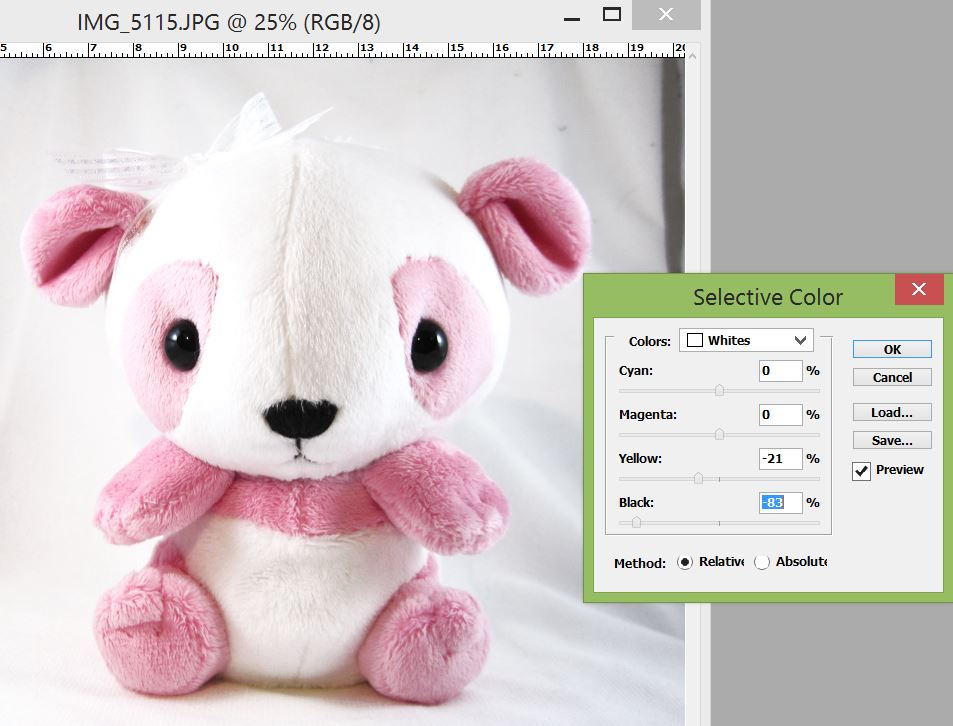
Selective Color to adjust the whites
Use this if the white background is too dark, or too colored (usually yellow from lights)
Image> Adjustments > Selective Color
Select white, and then move the bar for black to the left to make the whites less dark. Move the bar for yellow to the left to make the whites less yellow.
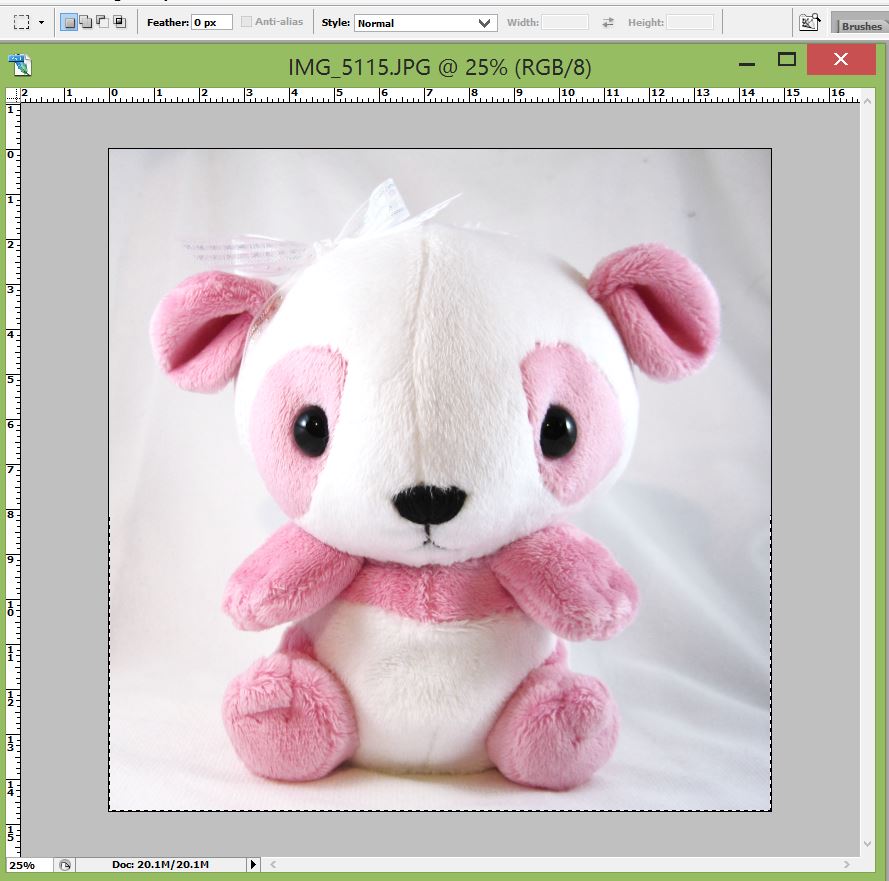
Cropping images
To make your plush the front and center object in the picture, use the crop tool.
Image > Crop