Here’s a quick thread sculpting tutorial, as featured in my Newborn Fox plushie sewing pattern ~
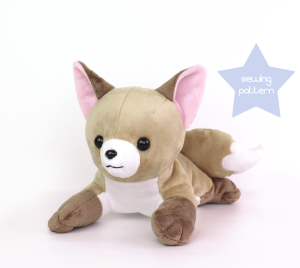
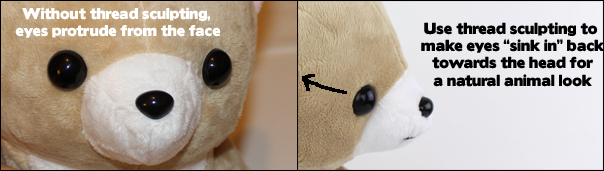
You can add dimension to the face by using thread to manipulate the shape of the face. I will be thread sculpting (also called needle sculpting) the eye sockets to pull the eyes back into the head a bit. This will give a very natural look to the face. Without the needle sculpting, the plush looks more “bug-eyed”, or like bad taxidermy, lol. Let’s bring this fox to life!
Step 1: Using a 4” long needle and several feet of thread, insert the needle in the center back of the head. 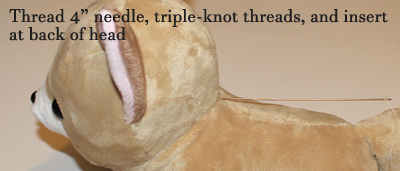
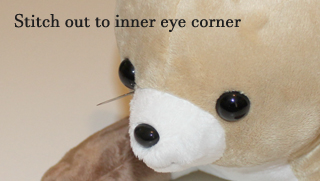
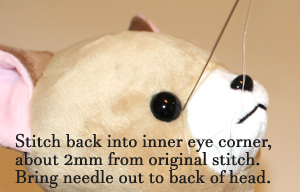
Step 2: Stitch out to left inner eye corner. Then stitch back into the same inner eye corner, about 2mm from the original stitch. Bring the needle out to the center back of the neck. Apply a little bit of tension on the thread, not much. The more you pull, the more the eye will sink back into the head.
Step 3: Repeat for right eye.
Step 4: Double-knot threads at the center back of the head, and snip away extra.
And that’s it! You can also use thread sculpting for other areas of the face that you would like to “sink in” to the head a bit. For example, if I wanted the muzzle to be less puffy, I would use some thread sculpting along the muzzle wherever I wanted it to “sink in” to the head.