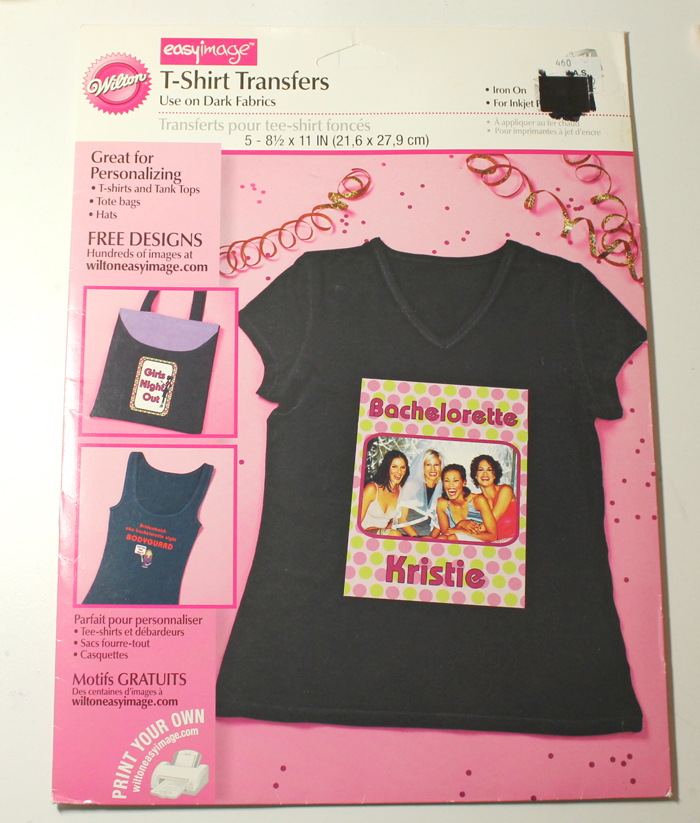
Materials needed:
Printer, ink, regular paper, dark fabric iron-on transfer sheets, iron
Step 1: Test print eyes and make adjustments
You should not need to mirror your image before printing. Print a test sheet on regular paper, standard or high print quality. For me, the eyes print darker ink than shown on my computer. You can use photo editing software to adjust the hue and saturation of the eyes to achieve different colors.
Step 2: Print the eyes
Set printer settings to high quality. Load transfer paper so that it will print on the correct (white glossy) side.
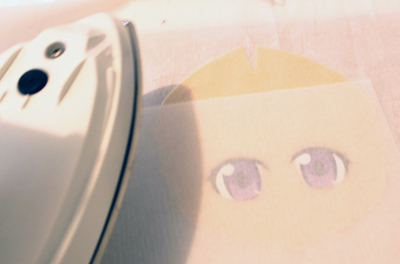
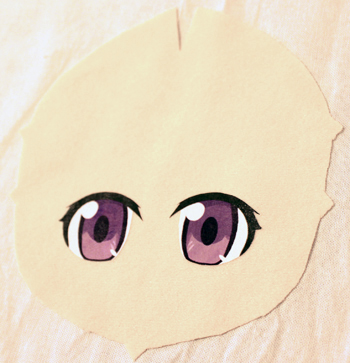
Step 3: Cut the eyes
Carefully cut around each eye. Depending on your brand of transfers, the ink may scrape off with scissors. Whatever you include around the eye as white, will stay white – the background is not transparent. So make sure to cut out white where you don’t want it.
Step 4: Peel the backing
I like to start peeling at a white or black area, because if any white chips off, I can use white or black paint to touch up afterwards. Peel carefully at small areas like eyelashes, so they don’t rip off.
Step 5: Set up area and prepare according to instructions of your iron-on transfer paper
Prepare ironing surface; I use a table, cardboard, and cotton fabric. My instructions call for a stiff surface (not an ironing board). I set my iron to medium heat, no steam, and pre-iron the fabric gently.
Step 6: Test the iron-on
Test some scrap iron-on transfer on test fabric, of about a similar size. Time how many seconds it takes to adhere properly (mine took 16 seconds for 1 eye). It’s key to get the right iron temperature, pressure, and timing. Too short/cold and they won’t adhere to the fabric; too long/hot and it’ll burn.
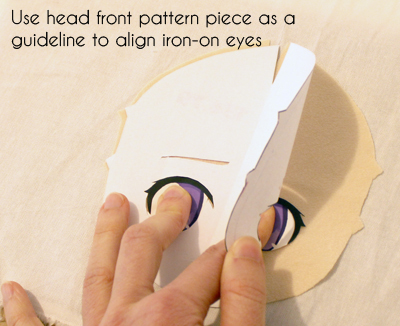
Step 7: Prepare pattern and align the eyes
If your sewing pattern has eye placement lines, cut these out so you can easily line up the eyes within the pattern. Place pattern down on fabric and put one eye in one eye hole.

Step 7: Iron the eyes
Place your transfer paper over the face, and iron the eyes on one at a time. I start with keeping the iron still for the first 5 seconds, then slowly moving the iron tip over one eye. When ironing the second eye, I make sure the iron is not touching the first eye. Let eyes cool.
Depending on your brand of iron-on transfers, you may have a little shrinkage after ironing. (I had a bit of shrinking with Jolee’s, and it smelled a little funny. Wilton brand did not shrink/smell.)
And voila!
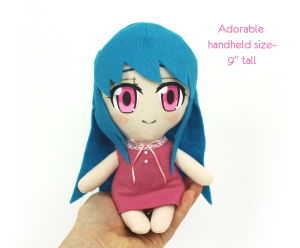
This human plush pattern is available in my Etsy shop!